How To Paint A Room
The first things to do when painting your room:
Push all furniture into the middle of the room
Take down all the pictures and lean them against the furniture.
Cover all the furniture in the middle with plastic or drop cloths.
Make sure there is a path all the way around the pile with enough space to move a ladder around.
Around this path, run plastic or drop cloths completely around it up to the molding. Don't try to drag around one piece of plastic, or you’d be asking for trouble. Remove all light switches and plug covers, spackle all holes, using joint compound in larger holes or cracks, and wait for it to dry. Then sand it smooth.
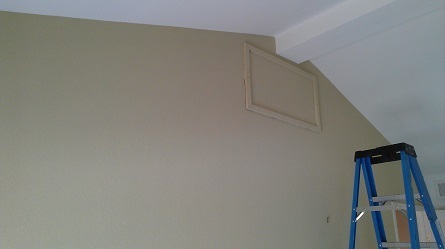
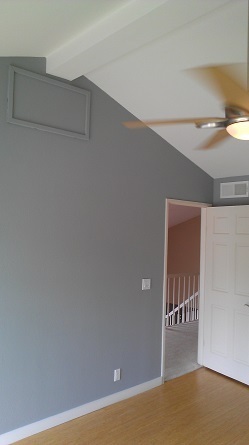
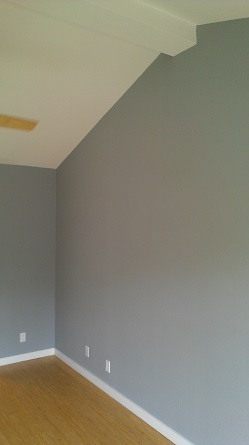
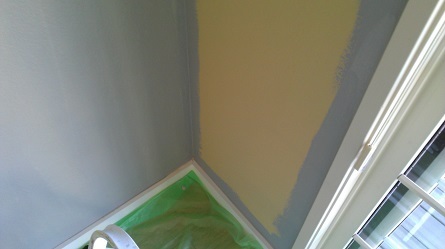
Always paint your ceiling first if you are going to at all, because when you roll the ceiling, the roller will "spit" all over your newly painted walls and molding if you don't. I recommend painting free hand between the ceiling, top of the wall, and on the wall next to the moldings.
This won’t be too difficult as long as you have a good brush and take your time, keeping a constant wet edge at the crease between between the wall and the ceilings or moldings. Put the wet brush on the wall and move it gently up to the crease, then let the crease guide you.
I always recommend using regular painter's tape on the top of the floor moldings (almost nowhere else), because gravity makes it much harder to freehand and not make a mess, especially when you get tired by the second coat (obviously, don't take the tape off between coats!) Try to keep the brush relatively dry next to the tape on the moldings.
If you are taping on top of the moldings and they are newly painted, peel off the tape slowly and gently toward the floor; don't pull straight up because you will pull your new paint off.
There are a number of different approaches to painting your room depending on what you want.
If you just want a fresh coat of the same color on your walls and the molding is fine, then tape on top of the floor moldings and reapply it.
If you are doing both the moldings and walls over with the same color, do the moldings first, then tape on top of the floor moldings and do the walls.
If the moldings and walls will be different colors, do two coats on all the woodwork then two coats on the walls.
Don't use your screwdriver to open the can. Use the paint can tool. Opening it with a screwdriver will cause your paint will dry out faster because of air exposure.
Stir your paint well and put a newspaper under the can of paint to avoid big drips on the plastic that you could step on. On that note, always check the bottom of your shoes before you step off the plastic!
The key to a smooth running paint job is good preparation, coupled with constant ongoing clean up. Always have immediate access to a wet rag. It is easier to clean up paint when it is wet then when it is dry. You can clean paint off anything without a trace (carpet, floors, doorknobs, etc.) if you catch it while it is wet.
Use a 3/4" nap roller on regular walls. 3/8" and 1/2" seem to take more work to roll. Use an even taller nap for very textured surfaces.
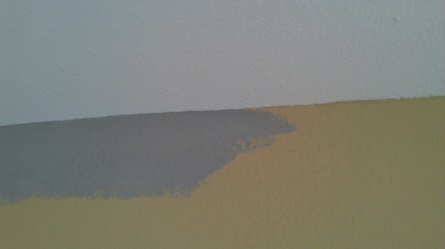
Avoid thin, cheap paint and painting with only one layer. Even with thick paint, in my experience, rooms always need two coats. Single coats with primers look horrible. Everything needs two coats, unless you are painting over with the same paint or maybe if you are matching the color with a patch cut from the drywall.
To match your paint with a patch from the wall, you score the drywall with a utility knife in a place where you won’t notice it, like bottom of a door. Peel off the top paper of the sheetrock, which after being matched by your local paint store you will glue back on with Elmer's glue and patch over with joint compound (don't forget to prime raw joint compound.)
When you paint, you "cut then roll", so to speak. Start on one wall and cut around all the edges with the brush. Again, freehand the top. I like to paint two brush lengths on the wall right under the ceiling so the roller won’t touch the ceiling when you roll out the wall. Still, try to roll as close to the ceiling as possible.
When rolling, leave no thick lines; the roller tends to squeeze excess paint off of its edge, so you’d want to roll those lines out completely flat. Try to start a new can of paint at the corner of the room rather than right in the middle of a wall.
There’s one neat trick that can save you lots of time:
If you are going to paint the woodwork the same color as the walls but in semi-gloss (walls are usually flat unless you are painting a bathroom or a kitchen), you can paint the woodwork with flat paint at the same time as the walls, doing the second coat of the woodwork with semi-gloss, and then doing the second flat coat on the walls.
However, if your woodwork and walls are two different colors, it's best to do two coats on the woodwork and then do the two coats of the walls (so you don't have to be so careful next to walls when painting the woodwork because it is much easier to cut from the wall to the woodwork then the other way around.)
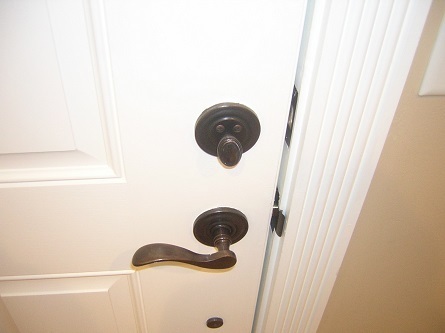
One of the other times I like to use tape is around door hardware as pictured below. Even if you peel it off (when dry) and it's messy around the edges, it can be easily clean up with a fingernail.

While painting down this staircase around the carpet pictured above, I put two layers of tape next to each other right on the carpet and pushed down hard right by the edge by the wall. Once the paint is dry and you remove the tape, the carpet springs back against the wall and covers up the paint’s edges. The same can be done around a room by the moldings if you have carpeting.
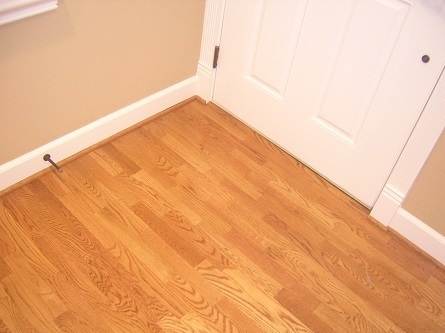
I also taped the hardwood moldings next to the painted moldings in the picture above, because it was a hardwood floor situation. Because of gravity, it is very hard to freehand on the tops of moldings. Wait until your entire paint job is dry to pull up all your prep and put the room back in order. It's as much about letting the paint on the plastic dry as letting the walls dry to avoid a mess during clean up.