How to Repair Wood Damage
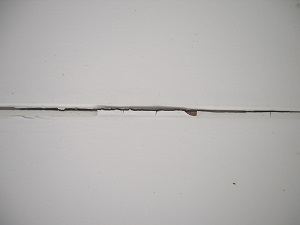
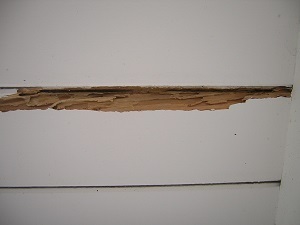
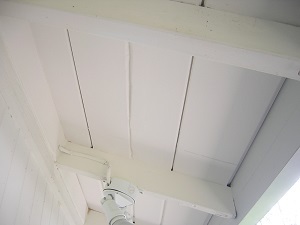
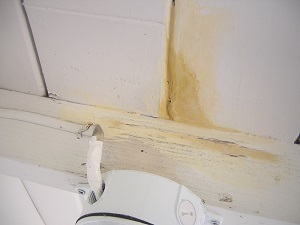
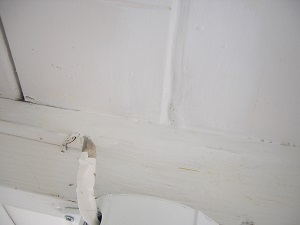
These are pictures of wood damaged by termites. You have to be careful to dig out all the wood. Paint can cover the damage and make it seem like there isn’t a problem. The first is a picture that shows slight signs of termite wood damage. Only after it was dug out can you can see how extensive it really was. You have to dig it all out until you hit solid wood like the second picture in order to do a complete wood repair job.
I will show you how to fix this type of termite damage, as well as dry or wet rot, which is repaired the same way.
Obviously, don't attempt to do termite repairs on your house until you've killed the termites by planet orange or tenting, etc.
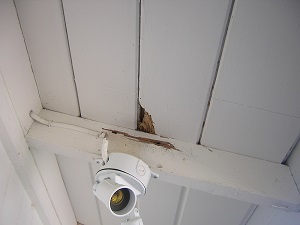
Here is another picture showing more termite damage.
As mentioned before, this could also be a dry rot or wet rotten wood repair, but the basic situation and the way to repair it is the same. If it is a wet rot, fix the problem causing the damage first (like run off from your gutters.)
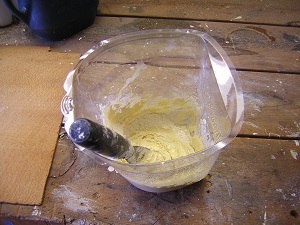
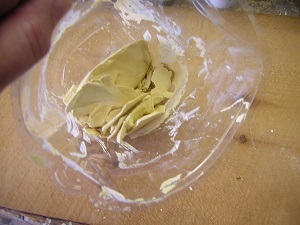
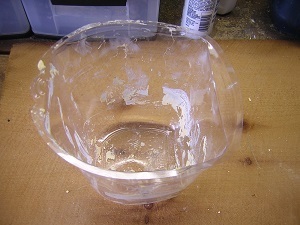
So when patching wood, use a putty knife. I like to use the plastic painting cup inserts as shown above to mix up the exterior wood filler. I use plastic painting cup inserts because you can crush up the putty (if it is water putty) by gently squeezing the plastic insert after the putty is dry and then reusing the plastic insert, as shown above. However, you can use all kinds of wood repair products for wood repair; There's epoxy wood fillers, water putty, and even Bondo. I use water putty because is sands well. All that matters is that whatever you use is primed and painted well so it doesn't absorb moisture.
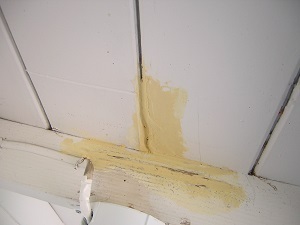
The first picture above was taken after I mixed up the the putty and applied it with the putty knife. The idea here is to shape it as well as possible to avoid having to do a lot of sanding later. The better you can shape it in the beginning, the better for you later on; it is much harder to sand wood filler into shape then to actually shape it with the knife. As you can see, I had to make the shape of the indentations freehand in the wood siding where the two pieces of siding meet. The second picture shows the repair after sanding.
Here's a picture of the area after its been primed and painted, and below is a larger picture including the other repaired area of termite damage that I showed in the beginning. You aren't looking for absolute perfection here. Nobody looks at the lines between your siding with a magnifying glass!