Caulking a Bathtub
To begin, the best way to remove old moldy bathtub caulking is with a product called"goof off,"a putty knife, and paper towels. However, you must be very careful that you don't scratch the tub with the knife, or more accurately, leave what I call "metal marks" on the tub. To be honest, I have worked on tubs where this was a problem and tubs where it definitely wasn't. Just test before you scrape. These marks aren't scratches exactly, but they are ugly and hard to get rid of nonetheless.
Spray on the goof off and let sink in for a while, and only scrape on the tub in places that will be covered again by caulk if your tub fails the metal mark test. Please wear a a mask with organic vapor inserts! This stuff (goof off) is nasty but it works great. Also, wear (soft) knee pads! (otherwise you'll be sorry.)
When the old caulking is all scraped off, clean the area well with wet paper towels and then let it dry completely. Plan on working in a very fast, focused manner for about an hour. Take off your work boots (wear socks you can throw away or don't mind getting caulk on) or wearing tennis shoes works ok too. Work boots can leave marks on the tub and make it hard to maneuver. Use silicone tub and tile caulk only, no paintable caulk, and make sure you like the color. Have a roll of paper towels; you will need alot of paper towels fast (they don't need to be wet because the silicone is easy to wipe off.)
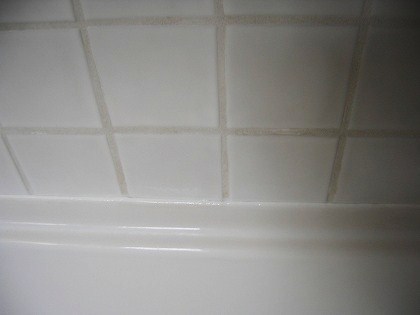
If there is a large space between the tub and the wall tiles, you may have to build the caulk up by putting a first layer and then the finish layer. The first layer should not stick out beyond the "plane" of the tile, in fact it should end up exactly even with it. In this case, make sure the first layer has dried enough so that it doesn't smear, and do it before you start the finish layer on any part of the tub.
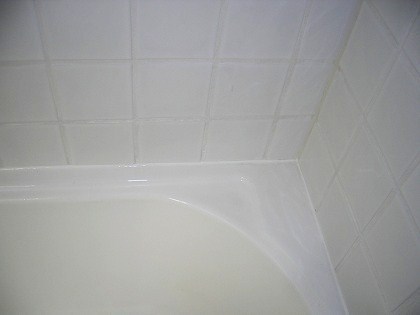
To start laying down caulk, cut a 1/8 inch hole in the tip of the canister. Put a couple of pieces of newspaper on the floor outside the tub to put the used paper towels and thecaulking gun on, so you can get to the gun and get rid of the towels fast but they're both out of the way. Pick a side and lay down one continuous bead with even pressure, then execute one continuous finger stroke (as much as possible) for that side of the tub. An important part of this process is that you never move on to another side of the tub until the side you're working on is completely finished. When you are working on one side you will have to touch it up so stick to smooth continuous strokes as much as possible.
Use a paper towel around edges of the bead very carefully to clean up the excess 'lines' of caulk above and below the seam and then smooth with your finger again. Just keep adding caulk if needed, smoothing it with your finger, wiping the excess above and below the seam and then smoothing again till it looks good. Keep cleaning off your finger with a paper towel. You can stop a stroke in the middle or towards the end with a lifting motion, it will not be that noticeable. What you definately don't want to do is leave any silicone "film" above or below the seam on the tile or tub, because it will get dirty fast and look terrible.
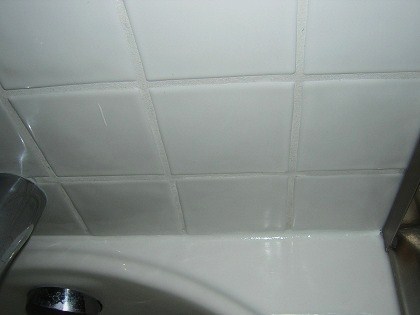
Clean up any extraneous mess immediately with a paper towel, especially on the metal parts of the shower door, before you move on to the next seam. If you don't clean it off the metal in time, you will have to scrape it and you will scratch the metal. You will most likely be caulking against tile, so make sure that you have truly made a watertight seal against the tiles and grout. This can be difficult, so again, make sure you don't need to build up the caulk in between the tub and the tile beforehand. Do not use the tub for 24 hours after caulking it.
You'll need some good silicone based caulking; here's some at Amazon.com:
Loctite 1509356 Polyseamseal Tub and Tile Ultra Sealant Caulk, 10-Ounce Cartridge, White